


Introduction
In this article, I will be writing about how to deploy our sample frontend React application as a static website in AWS S3. Our deployment will be using Github Actions as a CI/CD pipeline.
Pre-requisites
It is good for you to have the following knowledge, but not limited to, to better understand the practical example I am about to perform.
Basic knowledge of git commands and remote Git repo (In this example, GitHub).
Basic knowledge of React Framework and how to bootstrap a project.
What is AWS S3 and how does Static Website hosting work in S3?
What is CI/CD and how we can use that to automate our deployment process?
Abstract
In this section, I will explain a little bit about the project and workflow I'm trying to implement. Suppose we have a React application hosted in our GitHub project repository, we want to deploy it somewhere so that users can access our frontend web from a URL. In this blog, I will deploy our static website in AWS S3 making use of the Static Website hosting feature from S3. We will also set up a CI/CD pipeline so that every change we make in our source repository is reflected in the website we deploy.
Demo
Bootstrap Project
Firstly, we will create an empty repository in our GitHub and then clone that repository to our local working directory.
git clone git@github.com:heinhtetwin/react_to_s3.git
cd react_to_s3
Now, we will bootstrap our React Project by using npx create-react-app . command. But you will need to install node and npm if you haven't already installed them in your local system. You can follow this blog if you don't know how to install it.
Testing Locally
You can test your website locally by running npm start command in your project directory.
Output:
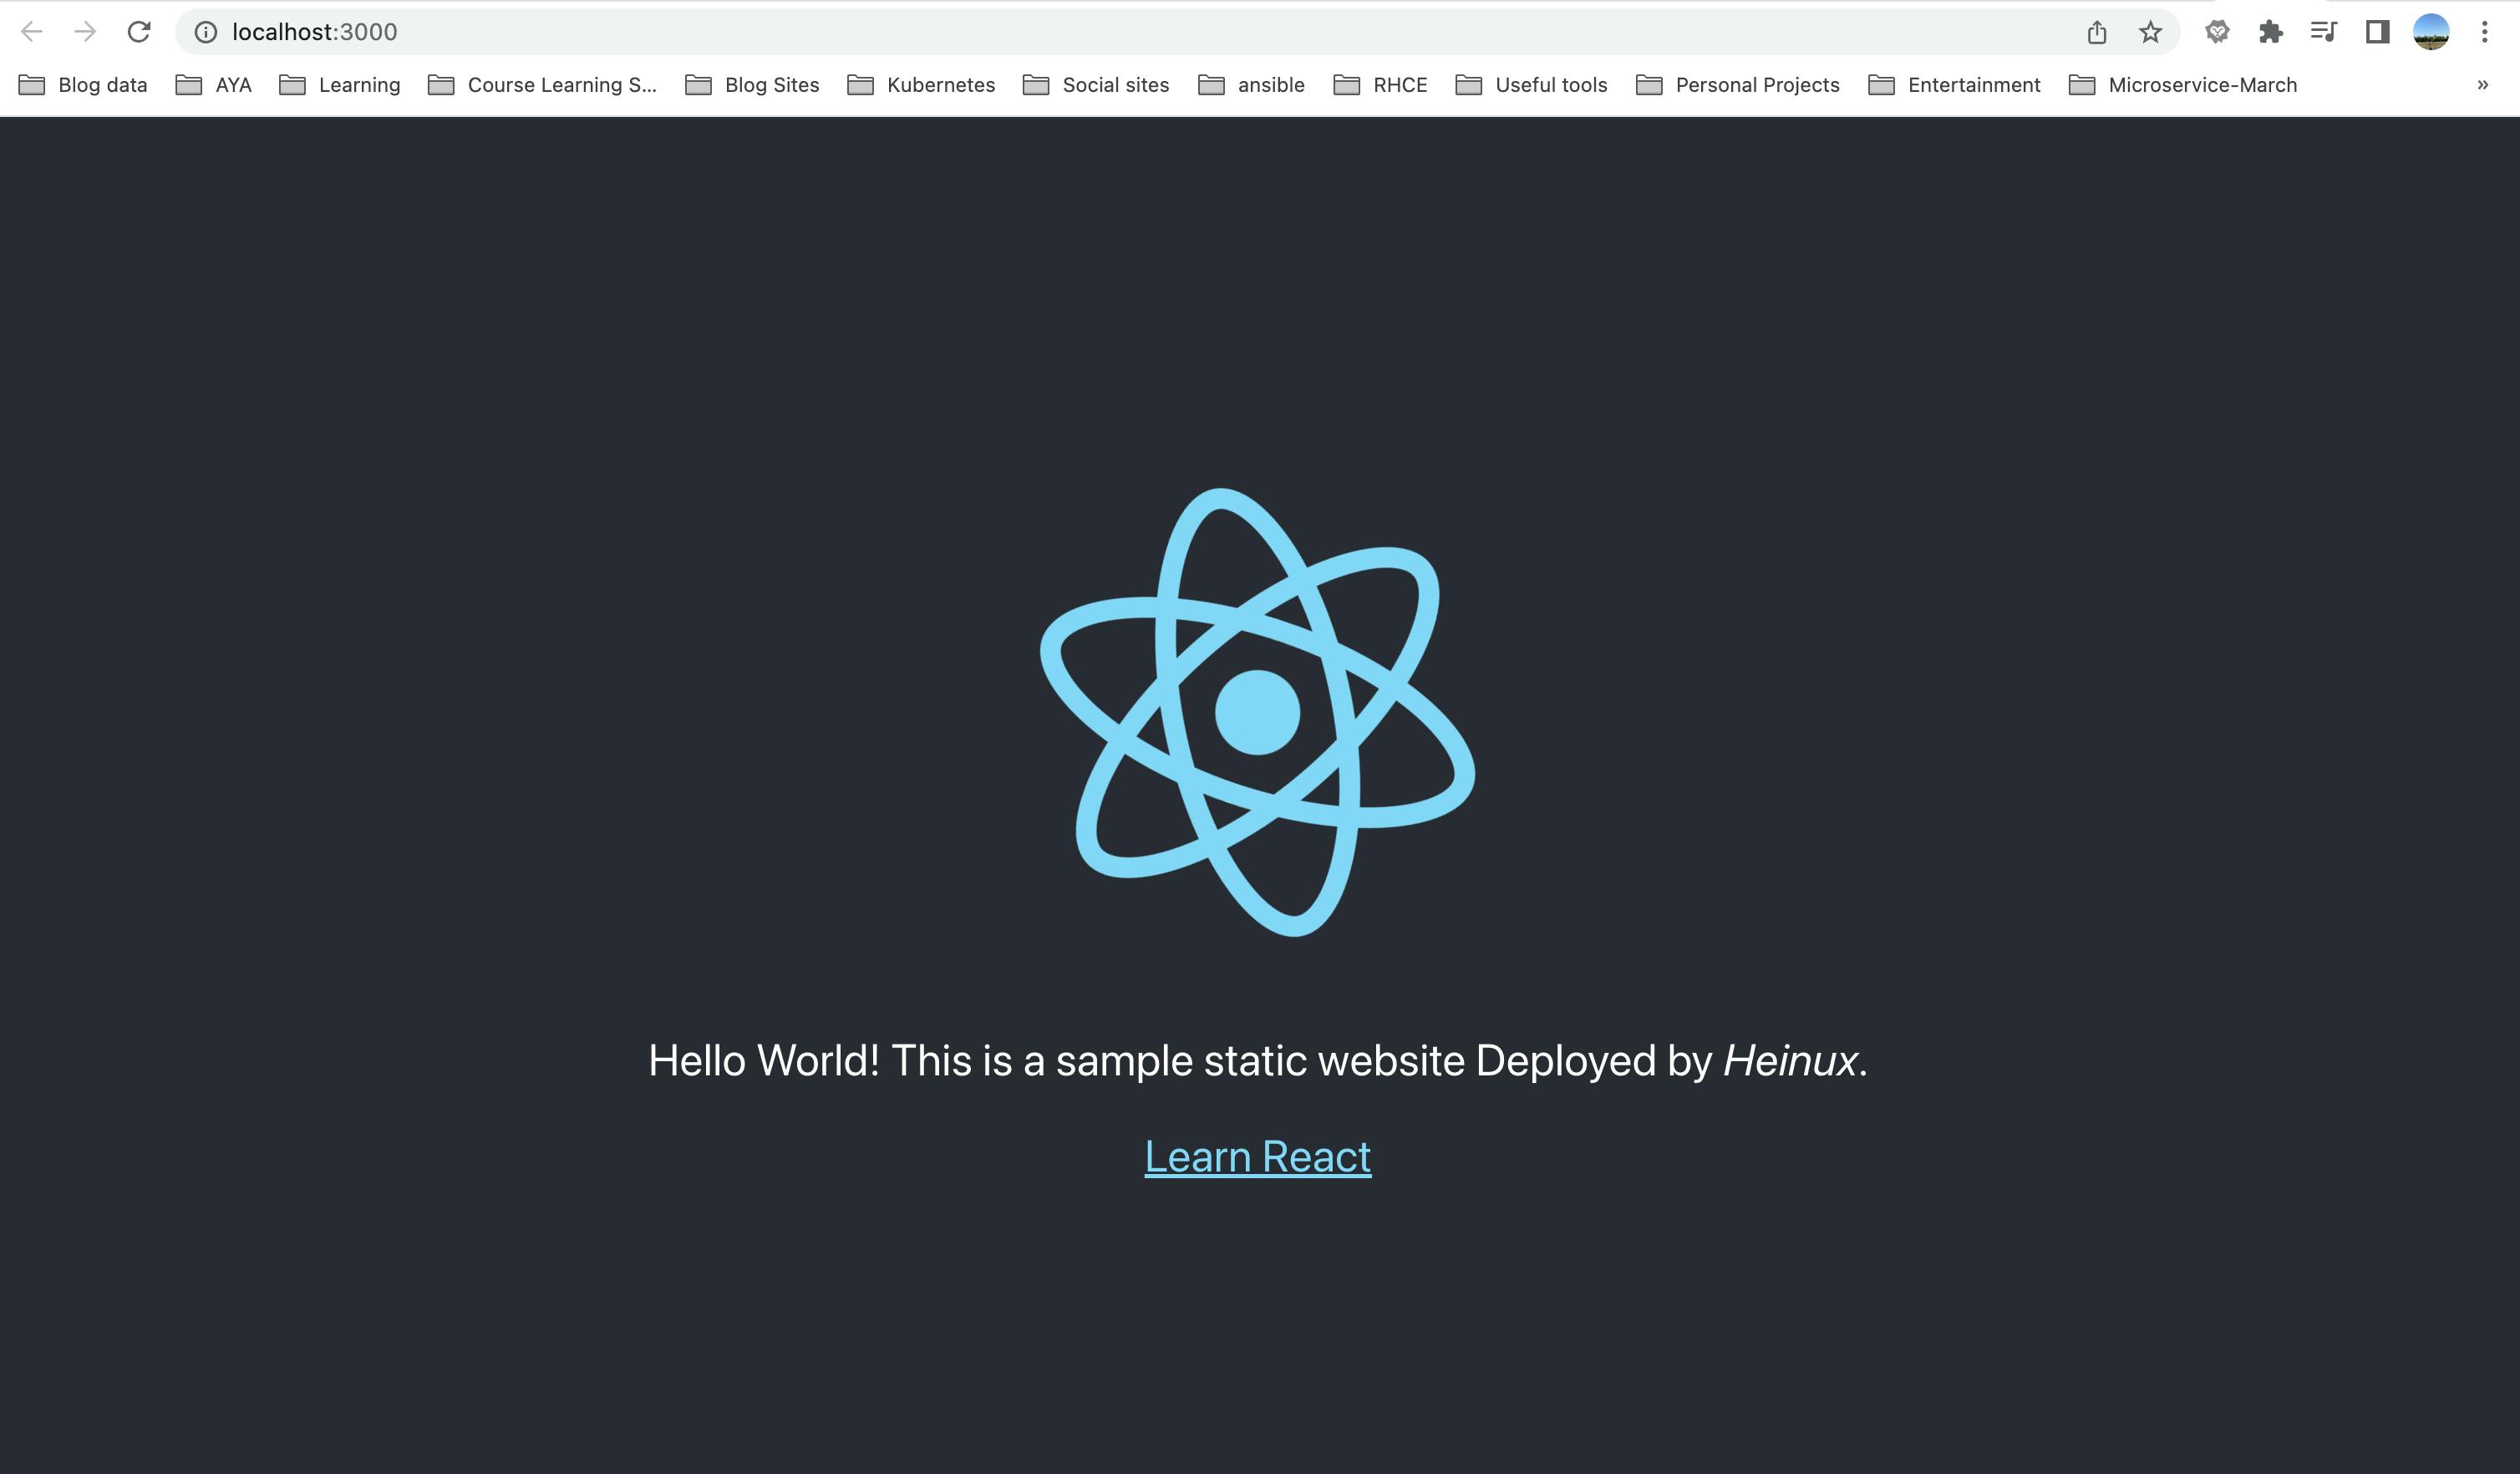
If you see something like this in your browser localhost port 3000, it means your React app is working properly.
After committing your modifications in your local git, you can now push your project to a remote repository.
cd react_to_s3
git add .
git commit -m "Init React Project"
git push origin main
Setting up S3
To access your S3 bucket as a static website, you must first establish a bucket and configure the relevant policies in AWS.
Create a bucket in your AWS account.
Uncheck the box that says "Block all public access" when creating the bucket.
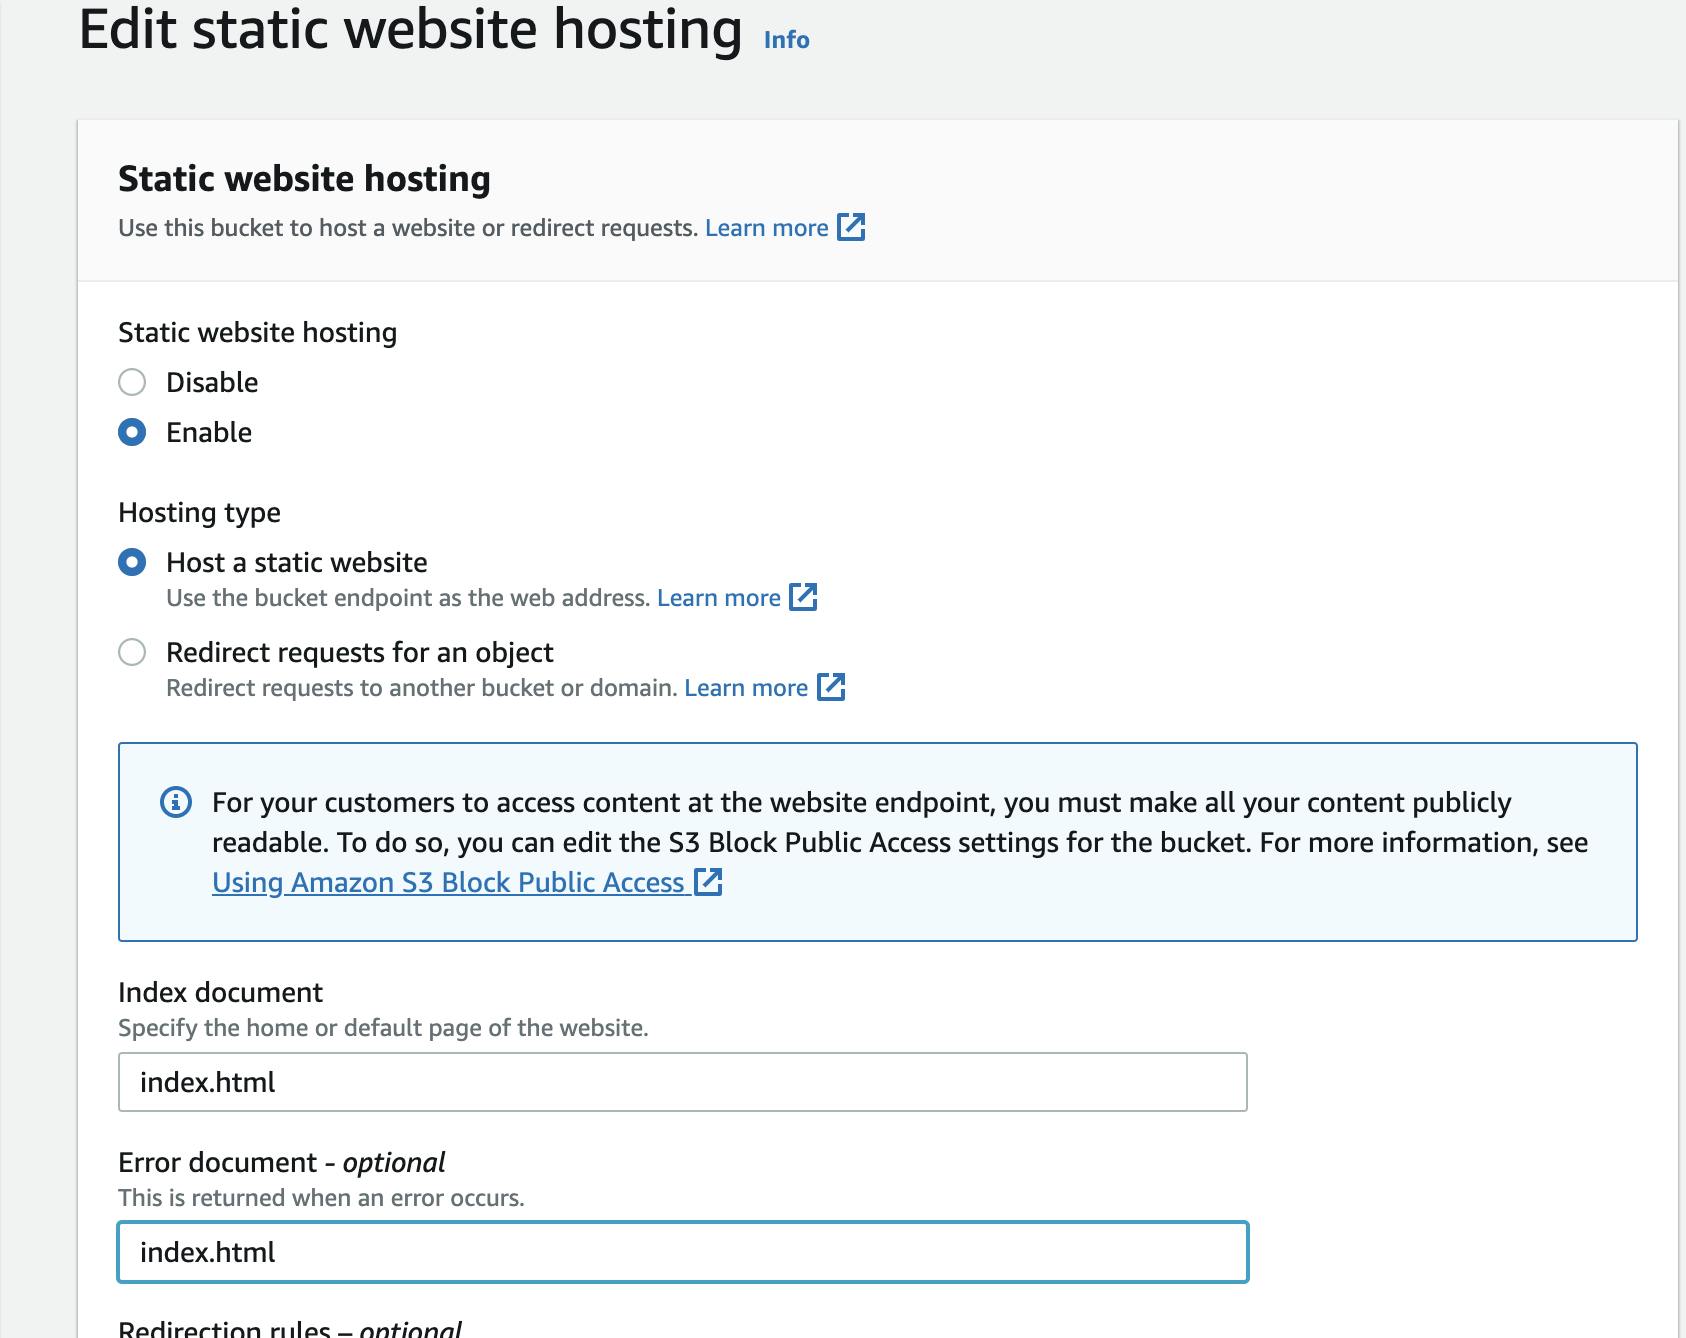
Enable Static Website Hosting in your bucket's Properties -> Static website hosting.
Finally, set your bucket ACL policy by Permissions -> Bucket policy -> Edit with following json file.
   {
       "Version": "2012-10-17",
       "Statement": [
           {
               "Sid": "PublicRead",
               "Effect": "Allow",
               "Principal": "*",
               "Action": [
                   "s3:GetObject",
                   "s3:GetObjectVersion"
               ],
               "Resource": "arn:aws:s3:::<bucket-name>/*"
           }
       ]
   }
That concludes the AWS configuration. We will now proceed to configure the GitHub action for the CI/CD pipeline.
Setting up GitHub Action
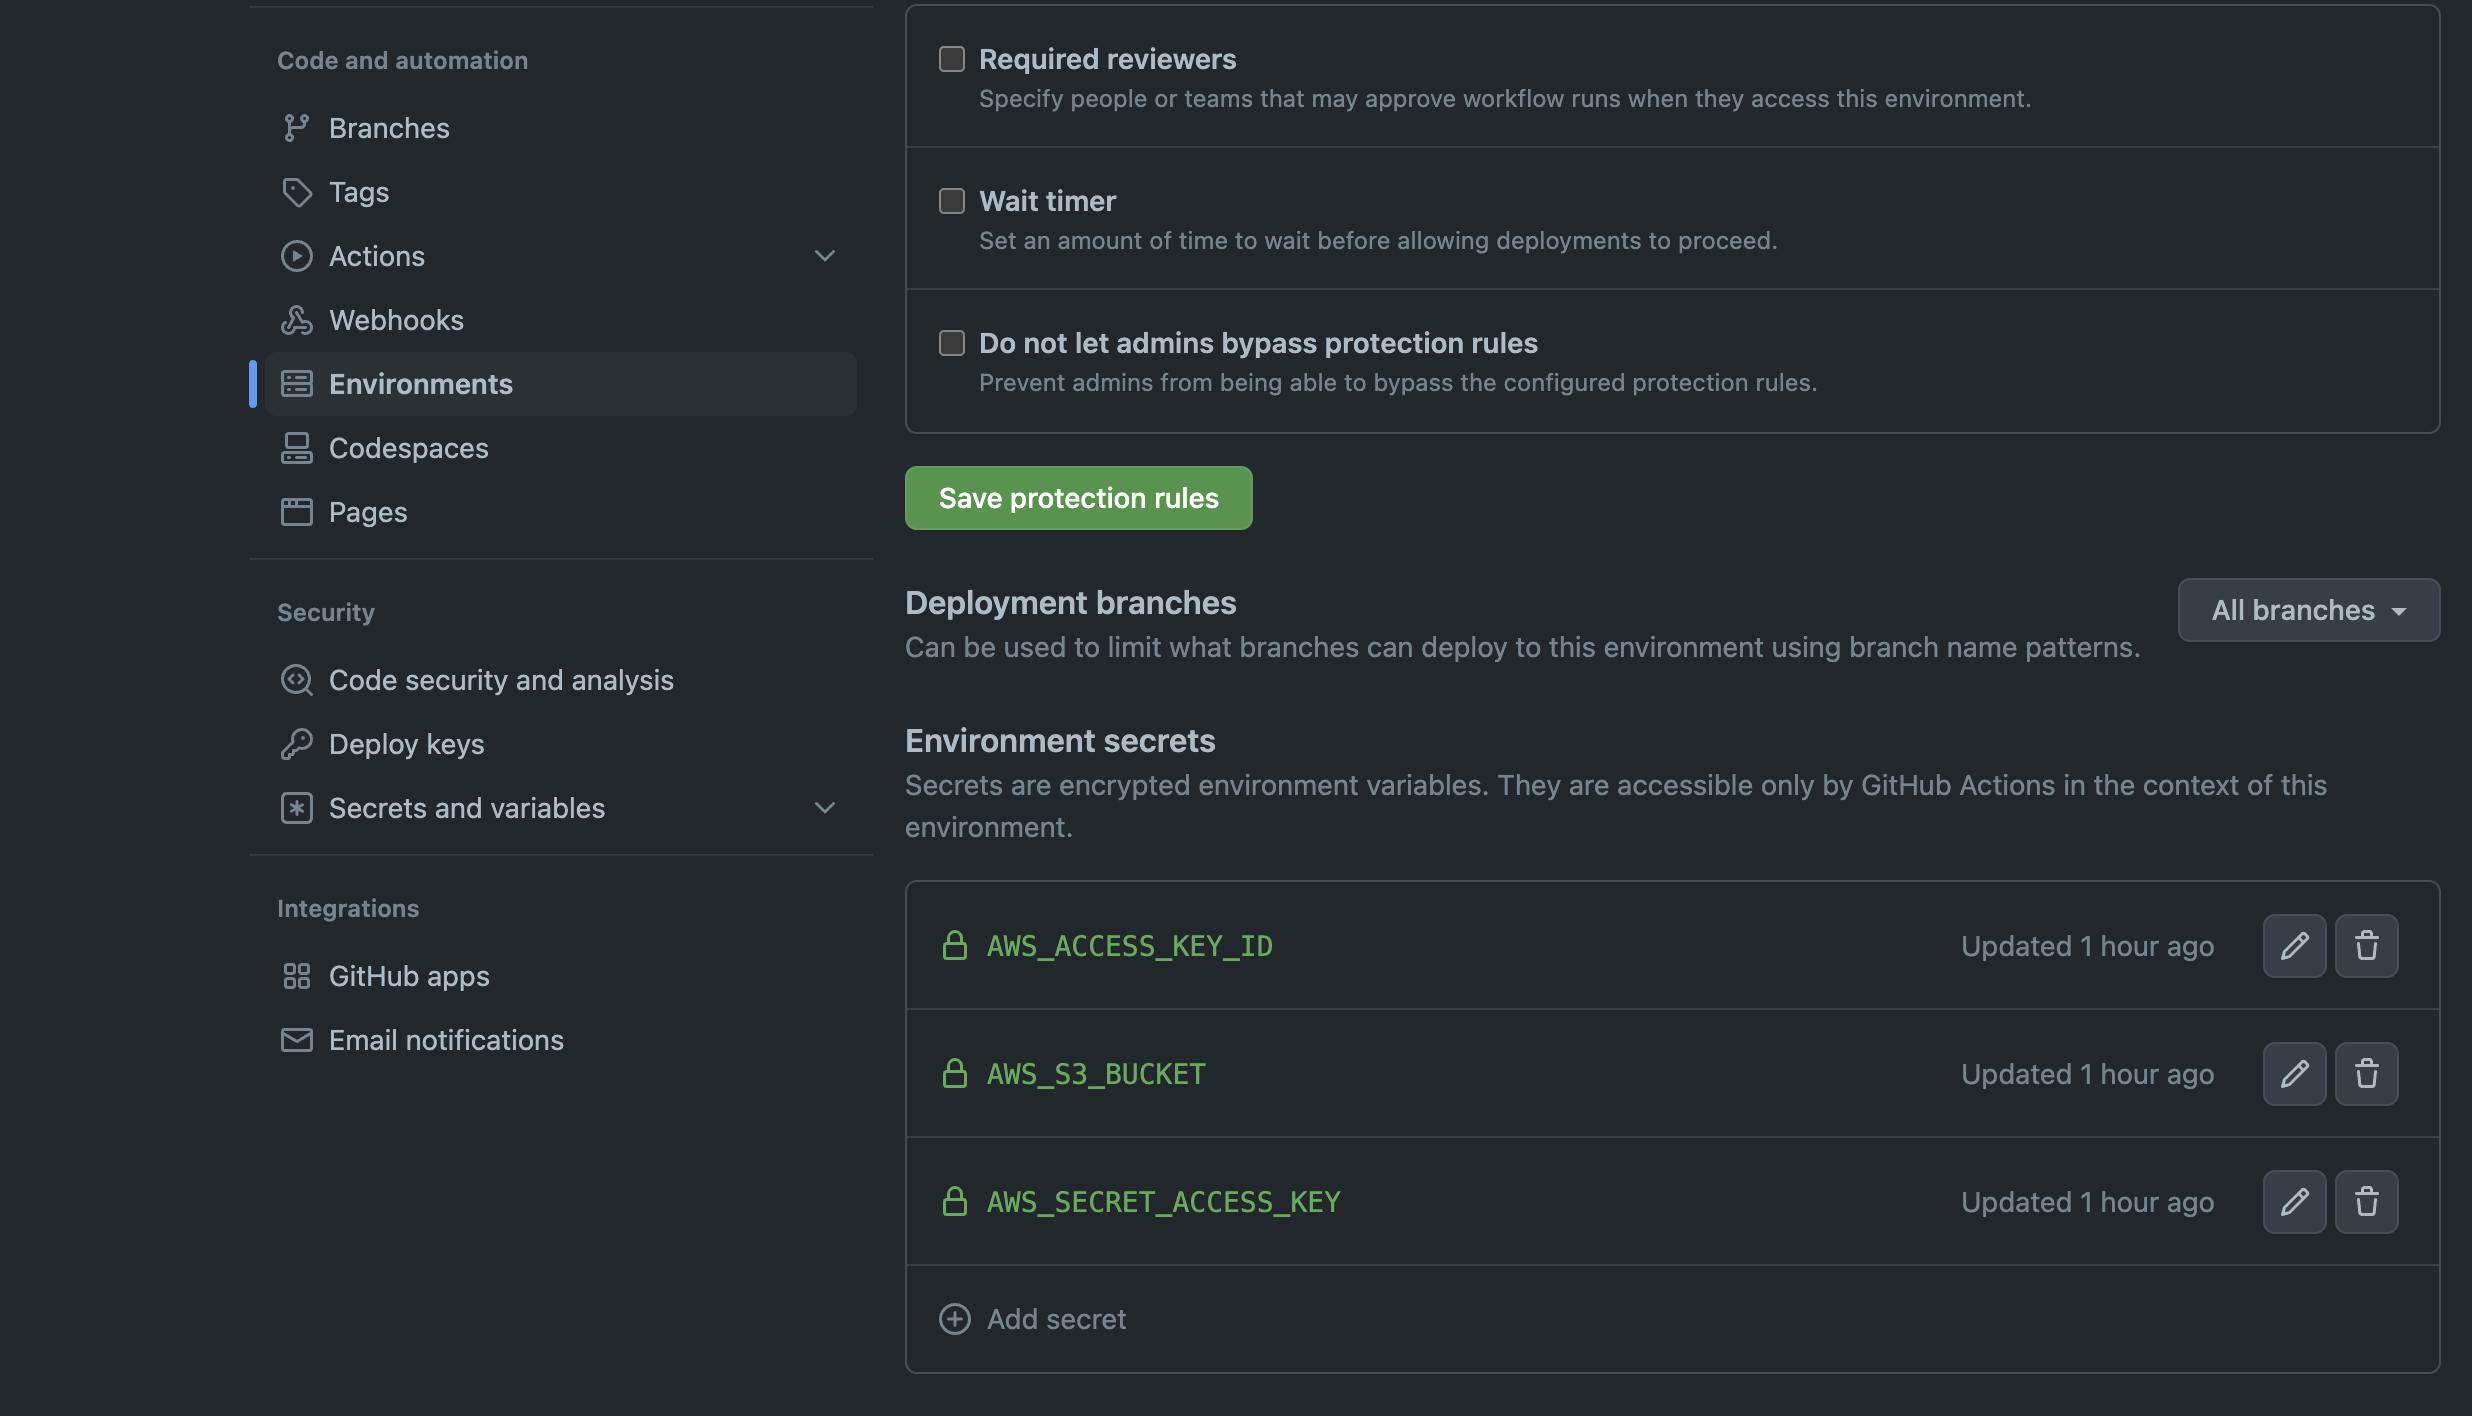
Firstly, we will need to create repository-level environment variables or environment-based variables to configure access for our AWS account. we need to create 3 environment variables as follows:
AWS_ACCESS_KEY_ID
AWS_SECRET_ACCESS_KEY
AWS_S3_BUCKET
In this example, I created a new environment called prod and environment-based variables from Settings -> Environments -> New Environment
Replace the values of the variables with the appropriate values from your IAM user's credentials. If you're not sure how to receive access keys for an IAM account, check out this YouTube video.
Create a configuration file under .github/workflows directory. In this example, I named it cicd_to_s3.yml. Because there are two jobs called build and deploy, I will discuss this file in two sections.
name: CI/CD configuration

on:
  push:
    branches: [main]
  pull_request:
    branches: [main]

jobs:
  build:
    runs-on: ubuntu-latest
    strategy:
      matrix:
        node-version: [18.15.0]

    steps:
      - name: Checkout repository
        uses: actions/checkout@v2

      - name: Set up Node.js ${{ matrix.node-version }}
        uses: actions/setup-node@v1
        with:
          node-version: ${{ matrix.node-version }}

      - name: Install dependencies
        run: npm install

      - name: Cache dependencies
        uses: actions/cache@v2
        with:
          path: |
           **/node_modules
          key: ${{ runner.os }}-${{ hashFiles('**/package-lock.json') }}

      - name: Build
        run: npm run build

      - name: Store artifacts
        uses: actions/upload-artifact@v2
        with:
          name: built-files
          path: build/
To begin, the
onkeyword defines when to start the pipeline we created. In this case, whether a push or pull request is made to the main branch, the pipeline will operate.Next, we have our first task, build, and the steps it will take when the pipeline is triggered. Our build operation will execute in the Ubuntu basic image.
Then, using a matrix-type technique, we set our nodejs version to 18.15.0. The objective of using a matrix type is to construct numerous operating systems or versions of a programming language so that we may test and run our code in different versions of the language. ( in this example, nodejs )
Then, as we would on a local workstation, we execute
npm installandnpm runbuild to create a production-ready deployment for our React app. We also include a cache build phase so that when we re-run our pipeline, we don't have to install dependencies all over again.Finally, we added a step to the build task to save artifact files generated by our build command so that they may be reused in the deploy job.
 deploy:
    runs-on: ubuntu-latest
    needs: build
    environment: prod
    steps:
    - name: Download artifacts
      uses: actions/download-artifact@v2
      with:
        name: built-files

    - name: Sync build directory to S3
      uses: jakejarvis/s3-sync-action@master
      with:
        args: --delete
      env:
        AWS_S3_BUCKET: ${{ secrets.AWS_S3_BUCKET }}
        AWS_ACCESS_KEY_ID: ${{ secrets.AWS_ACCESS_KEY_ID }}
        AWS_SECRET_ACCESS_KEY: ${{ secrets.AWS_SECRET_ACCESS_KEY }}
        AWS_REGION: ap-southeast-1
        SOURCE_DIR: ./
In our deploy job, we first specify that the build job must be completed before the deploy job can run. This job will be run in the prod environment.
In our actual step, we first download the artifact files generated by the build job.
Then, in the final stage, we use this GitHub action template to copy artifact files from our runner to an AWS S3 bucket. We provide template-required env variables from the environment variables we created in the previous stage.
Summary
In this blog post, I demonstrated how to utilize GitHub Actions to deploy our sample React application as a static website to AWS S3 automatically every time our code changes.
Now that our application is up and running in our s3 website endpoint, we can test it by calling the URL exported in the s3 console.
Output:
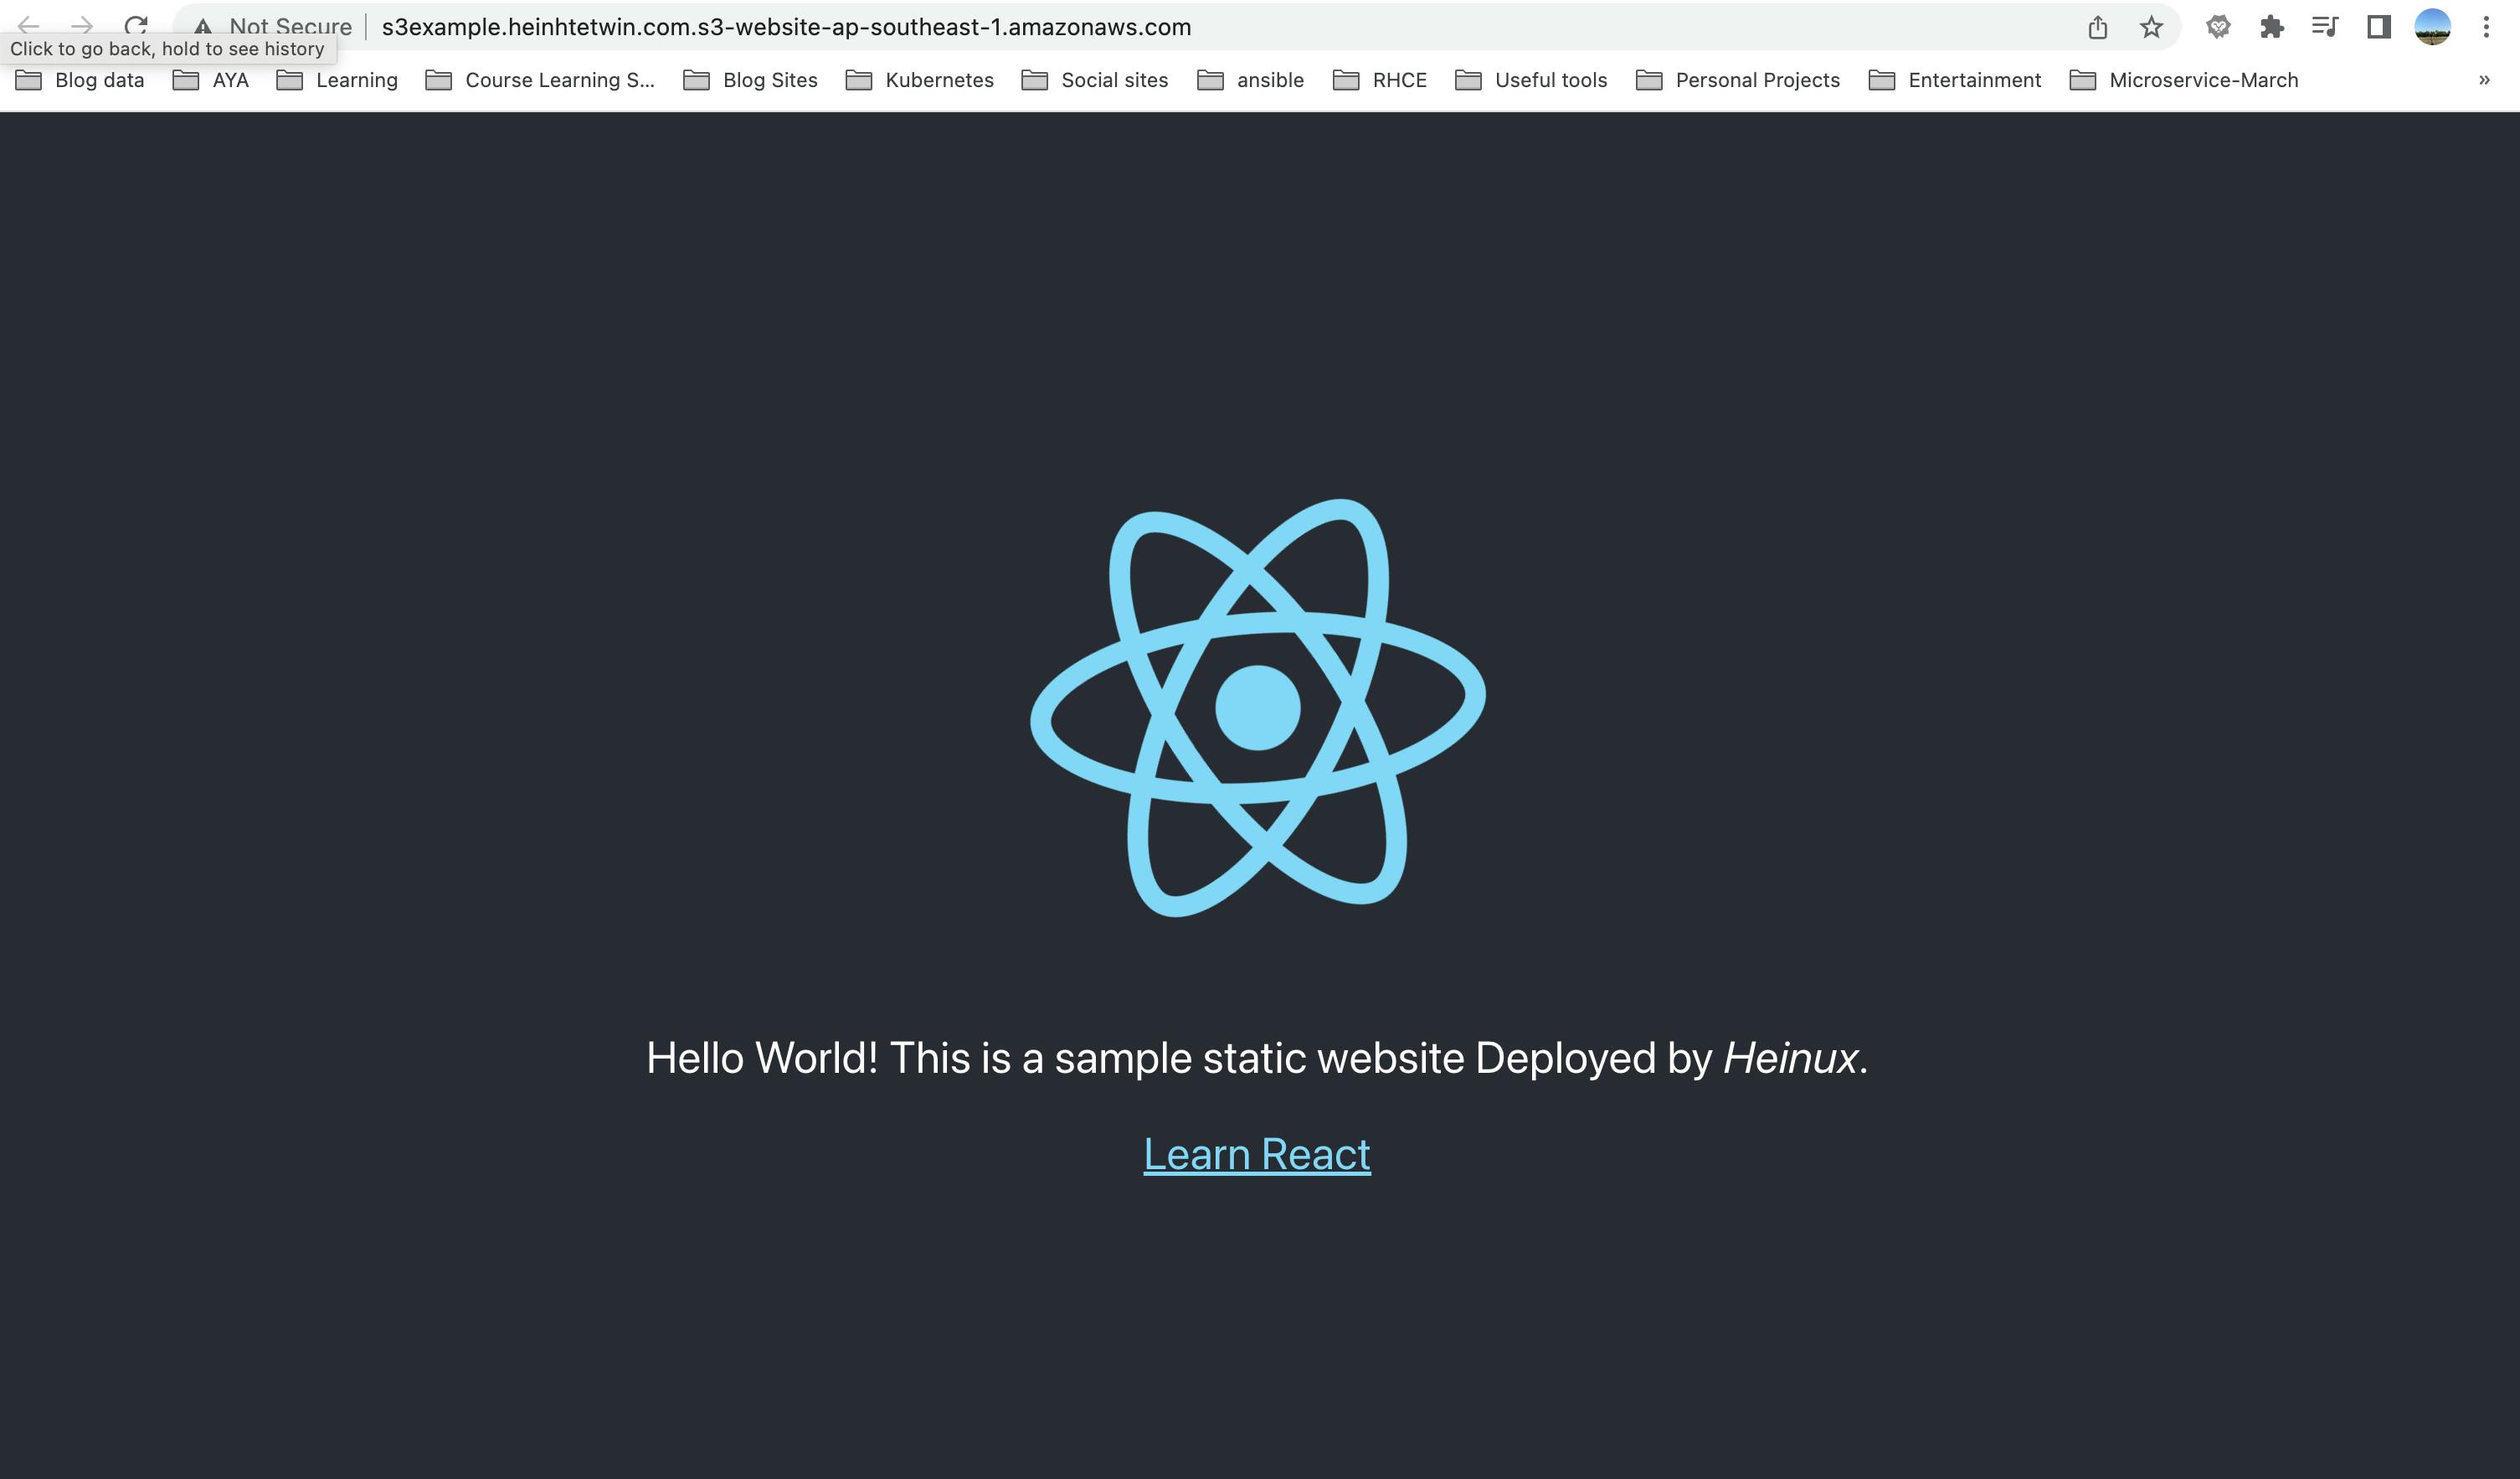
The only issue with that approach is that s3 static website hosting only supports your website via HTTP. So, if you want to be safer and more reliable for your application, you may use AWS Cloudfront to integrate with an s3 endpoint and a CNAME record to redirect a subdomain of your domain to your s3 distribution with HTTPS; for more information, see this blog post.
Thank you very much.
Git Repo
If you wish, you can clone and utilize my GitHub repo here.